Monday, July 31, 2017

Last Day to earn Bonus Day Coupons!


Just a reminder -  Bonus Days end today so you have until 11:00 PM Mountain Time today to earn your $5.00 coupons.  Read below for all of the information on this promotion:


What are Bonus Days?  They are a great way to save money on your wish list of new products.  For every $50 you spend July 1-31 (before shipping and tax), you will get a $5.00 Bonus Days coupon that you can use anytime in August.


There is no limit to how many coupons you can earn, so shop for just a few things, or make one big order and qualify for Stampin' Rewards as well.  You can see how Stampin' Rewards are earned on page 219 of the Annual Catalog.


Note -  an e-mail address is required to Receive Bonus Days coupon codes.  If you do not use e-mail, notify me to help you get your coupon through me.  


Once you qualify you will be given a coupon code.  Hold onto it because that is what you will need for the redemption in August. 


Leave a comment below or e-mail me if you have any questions.  You can click the Shop Online shopping card in the left hand column of my blog to start shopping at my Online Store.  Clearance Rack items can also be used to earn your coupon.  

Wednesday, July 26, 2017

July Paper Pumpkin tips and alternate cards

Just a few tips on making the cards in this month's Paper Pumpkin Kit.  You may have figured it out for yourself, but just in case you weren't sure how to place the pieces for the mountain landscape on your card here is how I did it.

First, place the wooden mountain piece onto your card.  Next place the dark green hill, then the light green hill.  On my first card I did it the opposite way and had to take it apart and start over.


And, here is an alternate card for the hooray card.  The card on the right was made to follow the sample.  I wasn't really crazy about wrapping the Washi Tape all around my circle, so for the second card I placed some of the Washi Tape onto my card front and stamped my sunbursts onto the circle instead.

When you get your Paper Pumpkin kits you might love the way it was designed, but don't forget you can always alter it to fit your personal taste.  


Note:  I will be taking a few days off from blogging to spend the next few days with my grandchildren.  I will be back with more posts on Monday.  Have a great week and don't forget that you can still earn your $5.00 coupon by spending $50 before shipping and tax, but the promotion ends July 31st.  

Tuesday, July 25, 2017

Simple Birthday


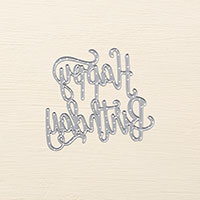
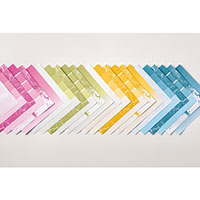
Want to make a quick but stylish birthday card, just use the large Happy Birthday Thinlit and pair it up with some Designer Series Paper, add a few pieces of sparkle (retired embellishments) and your card is finished.

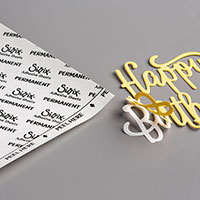
When adhering thin pieces like the cut birthday the Multipurpose Adhesive Sheets are perfect.  Just cut an adhesive sheet the same size as your card stock, peel one of the layers off of the adhesive sheet, adhere it to your card stock, and cut away.  Then peel the final layer of the adhesive sheet and place the cut piece onto your project.  

The following were used:

Monday, July 24, 2017

Bonus Days - One More Week!


Just a reminder -  Bonus Days end July 31st so you have one more week to earn your $5.00 coupons.  Read below for all of the information on this promotion:


 What are Bonus Days?  They are a great way to save money on your wish list of new products.  For every $50 you spend July 1-31 (before shipping and tax), you will get a $5.00 Bonus Days coupon that you can use anytime in August.


There is no limit to how many coupons you can earn, so shop all month, or make one big order and qualify for Stampin' Rewards as well.  You can see how Stampin' Rewards are earned on page 219 of the Annual Catalog.


Note -  an e-mail address is required to Receive Bonus Days coupon codes.  If you do not use e-mail, notify me to help you get your coupon through me.  


Once you qualify you will be given a coupon code.  Hold onto it because that is what you will need for the redemption in August. 


Note: If you are shopping at my Online Store use Hostess Code AT27NW62 for an extra free gift from me. 


Leave a comment below or e-mail me if you have any questions.  You can click the Shop Online shopping card in the left hand column of my blog to start shopping at my Online Store.  Clearance Rack items can also be used to earn your coupon.  

Friday, July 21, 2017

Foil Frenzy Background


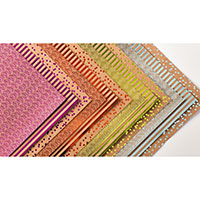
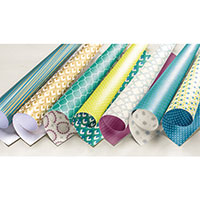
If you are looking for some nice thick paper to use for your projects, the Foil Frenzy Specialty Designer Series Paper is perfect.  You get 12 sheets, 1 each of 3 single sided designs in 4 colors.  You can layer a piece on your card, or because they are a heavyweight paper they make great boxes and gift bags too.

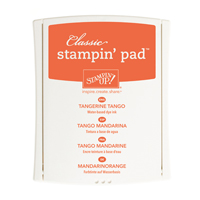
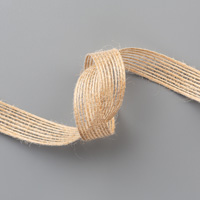
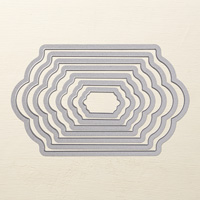
To my layer I added a piece of 5/8" Burlap Ribbon and then stamped my sentiment in Tangerine Tango Ink and cut it out with a Lots of Labels Framelit.  I placed this onto my card with Dimensionals, and stamped the inside of my card with the coordinating sentiment that comes with the Five For All Stamp Set.

The following were used:

Thursday, July 20, 2017

July Paper Pumpkin

The  July Paper Pumpkin kit is here.  Watch the video below if you want to see what was in this kit.  If you are a subscriber I'm sure you received your kit by now and are having fun putting it together,  but if you are not yet a subscriber maybe this kit will make you want to try it.


To subscribe, just click the Paper Pumpkin link in the left hand column of my blog. You can try it for one month, or do a 3, 6, or 12 month prepaid subscription. 
 
 
One Month


$20 USD | $27CAD
shipping included
Item: 137858

3 MONTHS

$59 USD | $79CAD
shipping included
Item: 137859

6 MONTHS

$114 USD | $154CAD
shipping included
Save $1 Per Month
Item: 137860

12 MONTHS

$215 USD | $295CAD
shipping included
Save $2 Per Month
Item: 137861


Wednesday, July 19, 2017

A little "Marbled" background


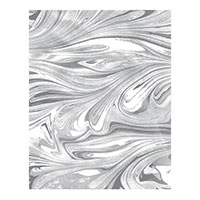
What a fun and quick way to get a unique background for your card.  I stamped the Marbled stamp twice - first with Crumb Cake ink, and then in Pink Pirouette.  I turned the stamp the second time so I wouldn't cover the same area.  I see so many possibilities for backgrounds using this large, single stamp.

My sentiment was also stamped twice to follow the theme, and some Linen Thread was wrapped around the layers before my sentiment was placed onto the card. 

Note:  My thank you sentiment is from the stamp set that comes in the Oh Happy Day Card Kit.  Just one of the many great reason to purchase the kits that come with stamps sets.  Once the kit is complete, you still have a great stamp set to use for many other projects. 

The following were used:

Monday, July 17, 2017

Beautiful You


I love creating backgrounds for the Beautiful You stamp set.  I wanted the lady to look like she was dancing on the sand so I used one of the textured stamps from the Touches of Texture stamp sets and blended some other colors using my ink pads and an Aqua Painter.  I did this directly onto Whisper White Card Stock, but you could also use Water Color Paper which will dry quicker.

The colors I used are Soft Sky, Peekaboo Peach, and Crumb Cake.  For the lady and the sentiment I used my Archival Black Ink Pad so the colors wouldn't run.  

The following were used:

Thursday, July 13, 2017

Up & Away


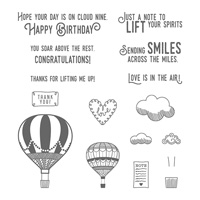
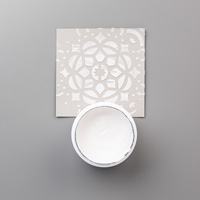
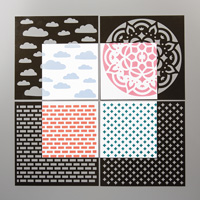
You could stamp some clouds from the Lift Me Up Stamp Set, or you could use the new Embossing Paste and Cloud Decorative Mask to make some nice fluffy clouds.  

When I cut out my large hot air balloon a Multipurpose Adhesive Sheet was used to make it easy to adhere my shape.  To use them you just cut your sheet the same size as the paper you will be using to cut out your die, peel one layer and place it onto the back side of the design you want to show (if using Designer Series Paper) and run your die through your Big Shot.  When the design is cut peel off the back of the sheet and your piece will be ready to place onto your project.  

To make my clouds blue I added a few drops of Soft Sky Ink to my embossing paste and then let the clouds dry for a few minutes before putting the card together.  

The following were used: