Thursday, August 28, 2014

Bags of Holiday Tags

The new Catalog is here!  Starting today, you can order products from the Holiday Catalog.  I have been having fun creating with my new products, and even though it is just the end of August, I have already started preparing for my upcoming Holiday Craft Fairs.  Below I am sharing samples of gift tags made using new products.  Enjoy!

 
I bag my tags in either 4, 8, 10, or 12 packs based on how much product and time was used to create them.  I place them in a Cello Bag and top them with a Real Red Top Note Die.  There are so many great products in this catalog to use for tags and here are a few of the ones I have created so far.

First tag made using the Santa Stache Stamp Set and cut out with an Oval Framelit.  Second tag made using the Holiday Home Stamp Set and coordinating Homemade Holiday Framelit Dies.  Stamp Set and Die can be purchased as a bundle to save 15%.  Scallop Tag Topper used to create second tag.

Tags made using the Festival of Trees Stamp Set.  First one used Window Sheets and the Tree Punch and tag filled with confetti stars from the Confetti Stars Punch.  The Angled Tag Topper used to create the tag.  The stamp set and punch can be purchased as a bundle to save 15%.

Tags made using the Merry Everything  Stamp Set and Coordinating Note Tag Punch.  Can be purchased as a bundle to save 15%.

Stamp Set  - Get Your Santa On.  I used my Blender Pen and ink to color in the images.  Tag created with the Scallop Tag Topper.


I'm not going to list all of the papers and inks I used because the list would be so long, but here are the main products used to make all of the above tags. 

Friday, August 22, 2014

Summer Silhouettes Screen Card


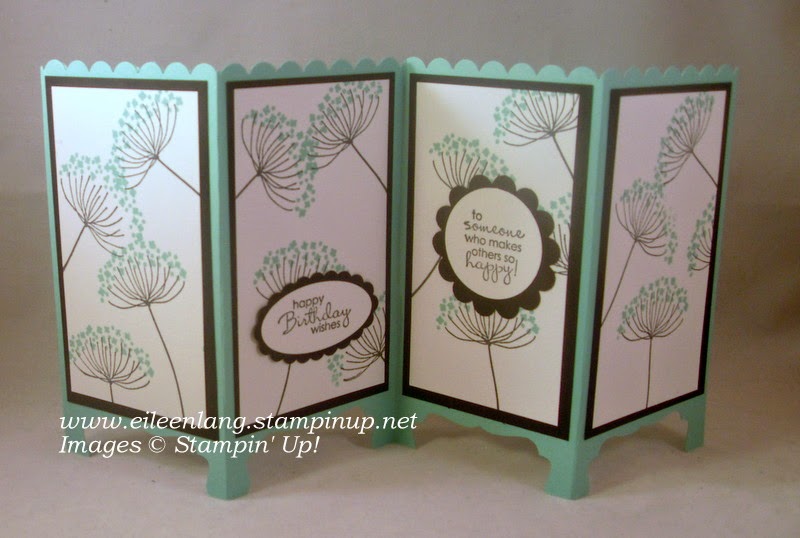
I have seen so many pretty "Screen Cards" and I finally got around to making one for my August Stamp Class.  They are really easy to make, and I have to say thank you to all of the talented Stampin' Up! Demonstrators who shared their creativity and dimensions.  I took my inspiration from them, and created my first screen card that I wanted to share with you.
 
The dimensions I used are:
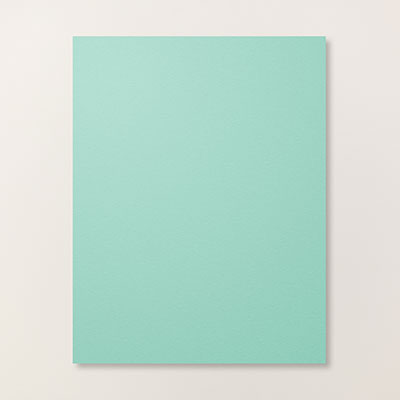
1.  Start with a piece of Card Stock measuring 5 1/2" x 11"
2.  On the long side score your Card Stock at 2 3/4", 5 1/2", 8 1/4"
3.  Fold your Card Stock on the score lines to create your panel.
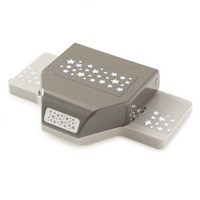
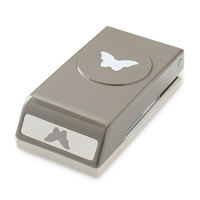
4.  For the legs - take your Decorative Label Punch and center in between each panel and punch.
5.  For the top - take your Scallop Edge Border Punch and punch along the whole top.
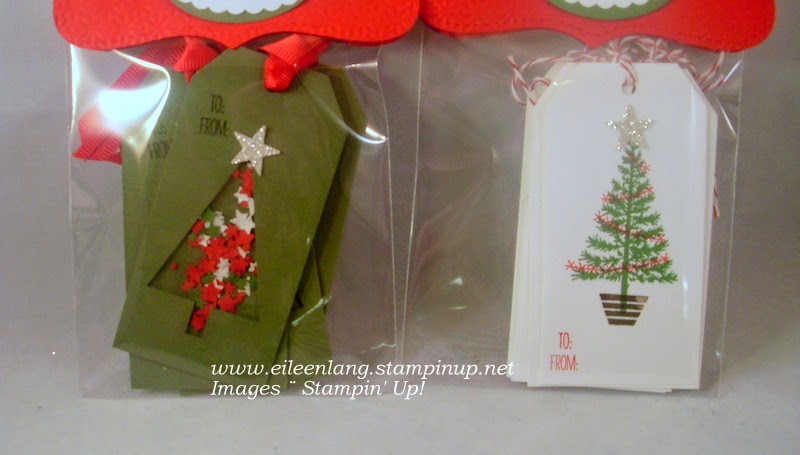
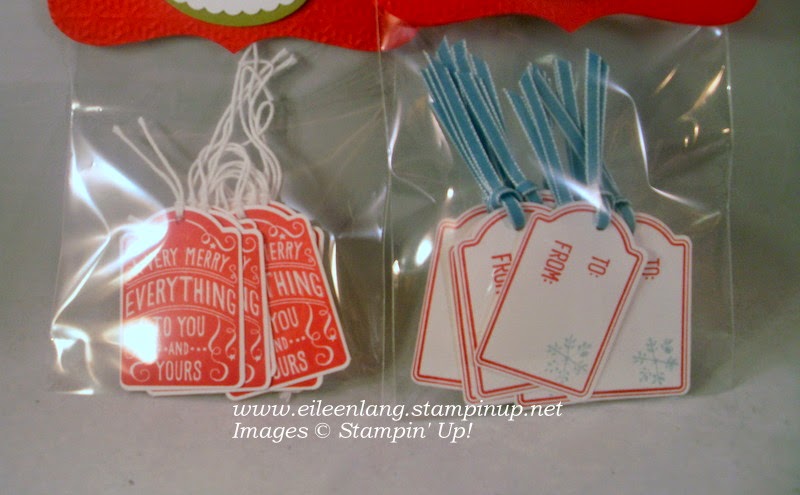
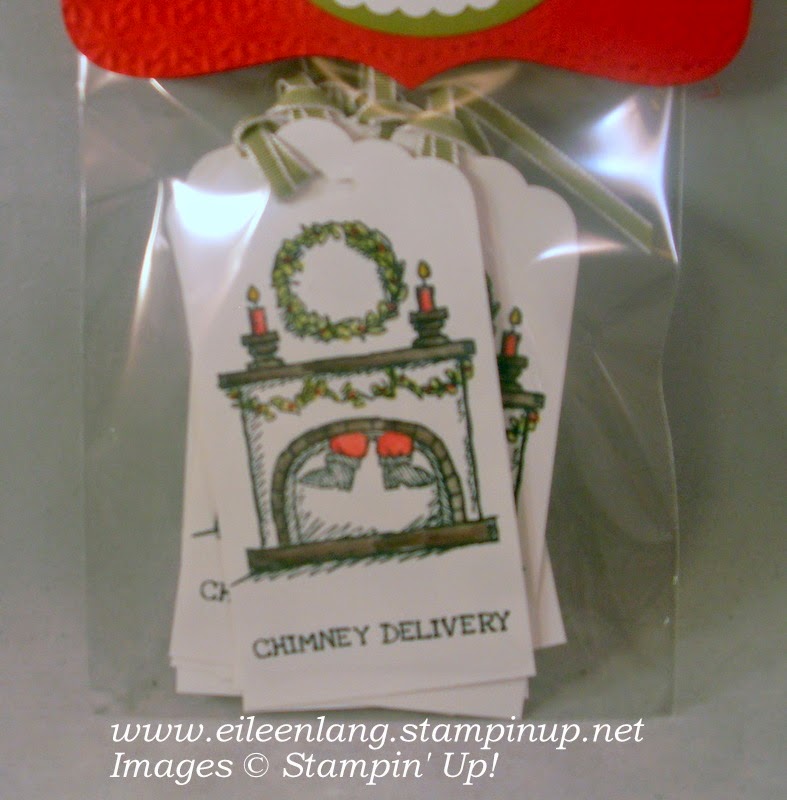
6.  Decorate your panels using the dimensions:  2 1/2" x 4 1/4" and 2 1/4" x 4"
 
I try to use sentiments that have finished sayings.  I also left some room in the last panel for a place to sign my name.
 
Now, you can decorate your panels any way you wish, use Designer Series Paper instead of Card Stock, or also add a another panel to the outer front panel and fold accordingly. 
 
The card will fit into a standard envelope which will be slightly larger in width, or you can make your own envelope with the Envelope Punch Board.  I opted to use a regular envelope so I could use standard postage. 


The following were used:

Thursday, August 21, 2014

For the Birds


The inside of the card says "it's your birthday"!  I like when I have a coordinating sentiment for the inside of my card. Because my outer card layer is dark I added another piece of Whisper White Card Stock to the inside so the stamped sentiment and my own wishes can be seen.
 
To add dimension to my front layer I embossed it with the Woodgrain Embossing Folder.   I also sponged some Blackbery Bliss Ink to the edges of my Crumb Cake Label Framelit and added some coordinating Park Lane Designer Series Paper.


The following were used:

Wednesday, August 20, 2014

Kinda Eclectic Birthday


A little ray of sunshine, a few butterflies and some flowers and you have a birthday card to make anyone feel a bit brighter.
 
I stamped my large sunshine behind my leaves and layers, but you still get to see the rays peeking out.  I also used Mossy Meadow and Pear Pizzazz ink for my leaves to give it a bit more dimension with the two colors.  I also angled my Designer Series Paper and stamped Crumb Cake Card Stock layers by using my 1" Square Punch and used Crushed Curry and Calypso Coral Ink for my two butterflies.
 
 
The following were used: