Friday, October 30, 2015

Christmas Chocolate Bars


I have decorated the large Hershey bars in the past for the holidays, but have updated them a bit using different tools.  

Some simple steps to decorating them.  First the wrappers measure 5 1/2 x 5 1/2.  Once they are all cut I use a variety of punches to create the design. The Santa buttons are the 1/2" Circle, the band around the bar measures 1" x 5 1/2" and the square can be made using either your Square Framelits or punches.  If using punches I first punch the smaller square and then punch the larger square around that.  If using Framelits you can layer both together.

The reindeer antlers were cut using the Tree Builder Punch, his eyes and nose are the 3/4" Circle punch, and under his antlers I punched using my 2 3/8 Scallop Circle Punch and cut it in half.

The Snowman also uses the 3/4" Circle punch for the eyes, the 1/2" Circle Punch for the buttons, and the tip of the Tree Punch was used for the nose.  His hat was cut using a Square Framelit and I just hand cut the smaller piece around the brim of the hat.

I also added the "Let It Snow" from the Snow Place Stamp Set to my Snowman, and the ho!ho!ho! on the Santa bar is from a retired set.

Right now I have been so but getting things ready for an event this Sunday so I will try to come back later to post the supplies used.




Wednesday, October 28, 2015

Snowman Kisses


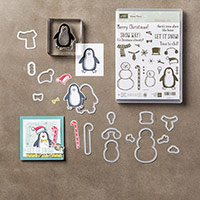
I have made these "Snowman Kisses" in the past, but with the new Snow Place Stamp Set I changed up my design.  This stamp set coordinates with the Snow Friends Framelits Dies and can be purchased as a bundle to save 15%.  


To make your holder cut your cardstock to measure 5" x 3" and scored at 2 1/4" and 2 3/4".  Next round your corners with the Project Life Corner Punch.  After that was done I stamped some snow flakes using White Craft ink.   Next, it is important to place your ribbon on before going any further and  I added two small pieces of Tear & Tape Adhesive on each side to keep the ribbon in place.    I then stamped and cut out my snowman.  The sentiment was tied on using a piece of Linen Thread and it reads:

He's cute, cuddly, and full of good wishes.
He wants to give you these snowman kisses!

The "Snowman Kisses" are individual containers of Tic Tac white mints. 


The following current products were used:

Monday, October 26, 2015

Blog on hold!

Well, it seems like my Picasa photo downloader is having problems recognizing my camera when I try to download pictures.  I went onto their help page and it seems like I am not the only one having these problems.  I will continue to work on it, but for now it looks like any new posts will be put on hold until I get the issue figured out.

If you need to reach me please e-mail me.  Thank you!

Thursday, October 22, 2015

Happy Scenes


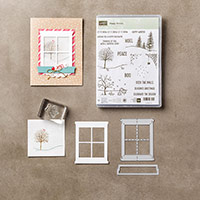
Yes, I know the Happy Scenes Stamp Set is available, but unfortunately the Hearth & Home Thinlits die, which has been so popular, is on backorder.  But, you can still purchase the bundle if you don't mind waiting for the thinlits. Your stamp set will be shipped.  I have several customers patiently waiting, but they feel it is worth the wait.  
The Stamp Set can be used for Halloween, Thanksgiving and Christmas, as well as fall and winter all occasion cards.

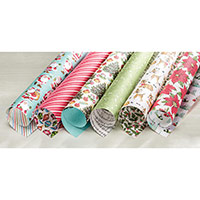
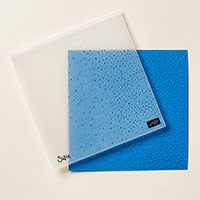
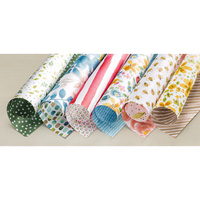
My card base is Pool Party Card Stock which I layered with a piece of Mossy Meadow Card Stock embossed with the Softly Falling Embossing Folder, and Home For Christmas Designer Series Paper. The designer paper I selected has just the perfect background for my winter scene, and I stamped my trees directly onto the paper.  

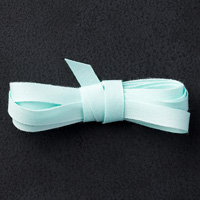
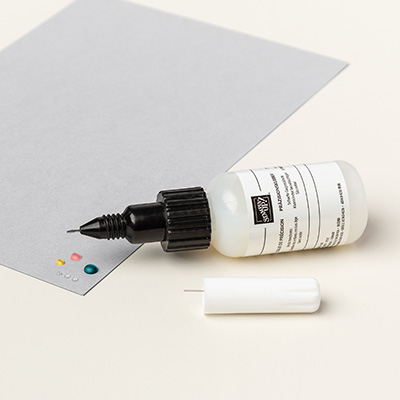
I used my Fine-Tip Glue Pen in the small center of the window frame.  This glue is perfect for thin areas. I added a piece of Pool Party 1/4" Cotton Ribbon to my window frame, and added my Sentiment that was cut out with a Bitty Banner Framelit.

The following were used:

Wednesday, October 21, 2015

English Garden Fall Birthday Card


I used a piece of English Garden Designer Series Paper to get the pretty fall colors for my birthday card.  I kept with the soft fall colors to ink my flowers and the burlap ribbon added a nice touch too.

Coordination is the key for me, and the Designer Series Paper has the coordinating colors written right on the package to make it really easy.


The following were used:

Friday, October 16, 2015

For All Things


I really like how Stampin' Up! carried over some of the holiday stamp sets into the Annual Catalog.  Combine those sets with new papers and you get to create different cards with sets you might of used last year.

My card base is Tangelo Twist Card Stock that was layered with a piece of Mossy Meadow Card Stock and Into the Woods Designer Series Paper.  I cut two Square Framelits, one in Daffodil Delight and one in Whisper White Card Stock.  I stamped my images and then turned the squares to create the diamond shape.  Some Linen Thread was tied onto the bottom and my Thanksgiving card is complete.  Once again, with all of the coordinating papers and inks, your card comes together so easily and looks great too.


The following were used: