|
| Wall of stamps for easy viewing, with project samples below. |
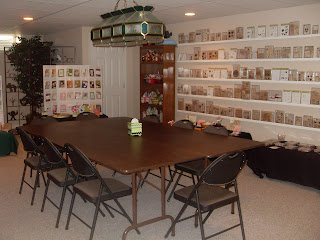 |
| Tables for classes and workshops, along with card displays and more project samples. |
 |
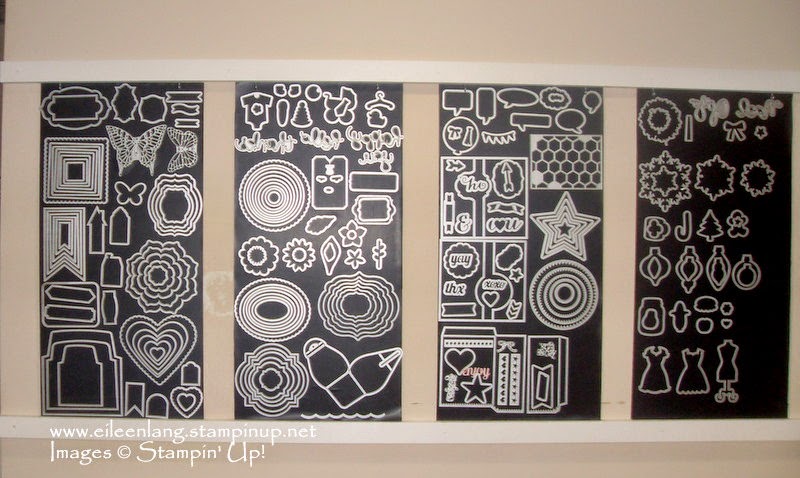
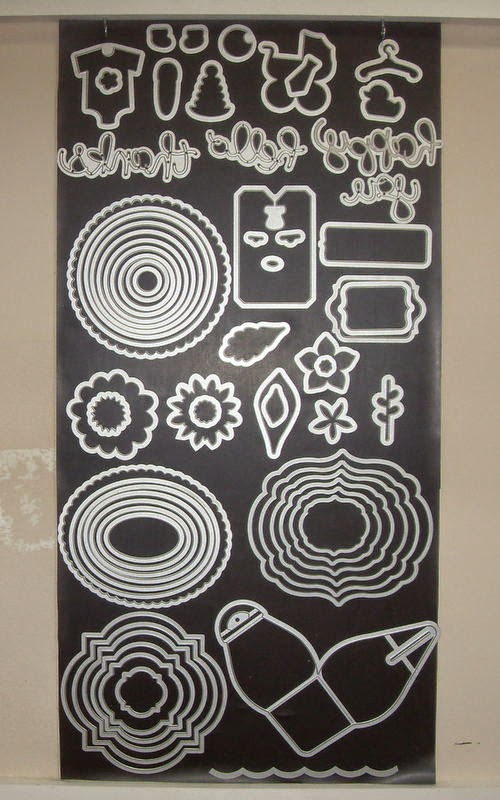
| Big Shot Die Cutting Machine work space. |
 |
| My stamping corner with everything close by. |
 |
| Room for organized paper, ink, ribbon, and punches. |
 |
| Room for catalogs, ribbon share packets, awards, flyers, and small tubs with extra punch and die cut pieces. |
One of my New Year's resolutions was to get my Stamping Studio organized and in order. I really wanted wall space to display my stamp sets so I could see everything I had, and I got this idea of a wall of stamps from my Upline Maureen Stivala who has hers arranged this way. My wonderful husband used some of his days off over the Christmas holiday to put these up for me, and I spent the last few days taking everything I had and rearranging and reorganizing. I love the results, and now I have everything out to see and it makes it so easy for me and everyone who comes to my classes and workshops to find what we are looking for. When I do a stamp class I always have everything set up and precut, but I always give my stampers the choice of changing the sentiment, or adding something extra. Now they can browse my wall of stamps and have fun personalizing their creations.
So with the addition of the wall of stamps I now had more space to reorganize all of my other stamping supplies. The cabinet that was used to hold my stamp sets now is a space for my workshop folders, envelopes, block storage, and so much more. I also organized small storage containers for all of my extra punch and die cut extras. You know those little extra owl or bird pieces you punch out but don't need right away. Or extra Build-a-Bear pieces that you don't want to throw away but don't know where to store them. I bought plastic containers at the dollar store and labeled them and now when I punch out an owl and only use some of the pieces, I place the extras in the marked container. The Dollar Store is such a great place to get baskets, bins, and containers to help you stay organized without spending a lot of money!
I also like to display samples of projects that can be made with the Big Shot, or gifts that can be made for different holidays, and I have them spread out on little tables that I covered in black tablecloths. Most of the cabinets and tables I use are mismatched pieces, extras that we no longer needed when my children moved out, or old office supplies my husband now has no use for. I wanted a nice spacious work area, but didn't want to break the bank on furnishing it, so I just rounded up some old furniture and put it to good use.
It is such a good feeling to now be really organized, and I think my stamping friends will find it a relaxing place to come and stamp away. I look forward to sharing it with them at my next Stamp-a-Stack in January.