Monday, September 29, 2014

Gift Box Punch Board Video

Stampin' Up! has a lot of nice videos showing you how to use their products.  I hope you enjoy the one below showing you how to use the Gift Box Punch Board.

 
Need some different sized boxes for gifts, try the Gift Box Punch Board from Stampin' Up!.  This is a new product in the Holiday Catalog, and with the holidays right around the corner this is a nice tool to add to your craft supplies.  You can create boxes up to 4" on each size and the sizing chart is printed right on the board. 
 
To order your own Punch Board you can go directly here to see not only the Punch Board but all of the products in the Holiday Catalog.

Friday, September 26, 2014

Flower Shop Birthday


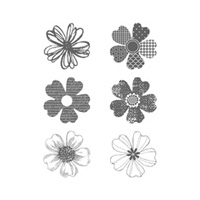
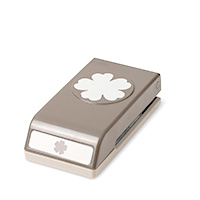
Pretty punched flowers that coordinate with my Designer Series Paper for a card that could be used for not only a birthday but thank you, get well, thinking of you and so much more.  I like when a design can be used for more than one occasion.  Make a few at a time, leave off the sentiment, and when an occasion comes up you have a supply of cards that just need the appropriate sentiment.  A great time saver when you stamp, punch and cut for more than one card.
 
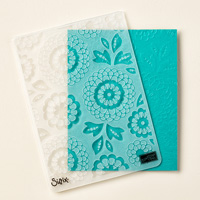
I also embossed my card front with the Lovely Lace Embossing Folder for more embellishment and added some Candy Dots to the center of my flowers.


The following were used:

Thursday, September 25, 2014

Oh Happy Day


I matched the colors in my Designer Series Paper when I inked my sentiment and circular images.  Some embossing on the card front also added a bit more dimension, as well as Dimensionals to pop up my designs.  I love all of the coordination with Stampin' Up! products.  It really makes your card and project come together in a snap.


The following were used:

Wednesday, September 24, 2014


Sorry, my picture has a yellow tint to it, but in person the colors are much softer and crisper.  It was easy to create my background with just a few brushstrokes of my Aqua Painter dipped in some pretty colors.  Just let your layer dry for a few minutes before stamping your other images .  My bottom image bled a bit because I didn't let it dry as long as I should of, but I still liked it anyway. 
 
I embossed my Whisper White Card Stock with the Perfect Polka Dots Embossing Folder before I layered my Watercolor Paper and also punched out my  Thanks with the 1" Circle Punch and layered it on with Dimensionals. 
 
 
The following were used:

Monday, September 22, 2014

Fabulous Four


The Fabulous Four stamp set has nice large sentiments, and I also love the change in fonts.  You can make cards for not only get well, but thank you, congratulations, and birthday.
 
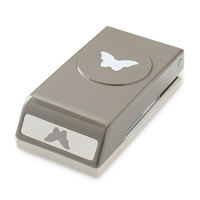
My card base of Rich Razzleberry Card Stock was layered with a piece of Crushed Curry and then my Whisper White layer was used for my images.  I added a Washi Tape piece above my flowers, and also punched out my butterflies using Washi Tape as well.  I layered scrap pieces of Whisper White Card Stock with the Washi Tape, large enough for my butterflies, and then punched them out. 
 
My flowers on the bottom of my card are from the Bordering Blooms Photopolymer Stamp Set making it easy to line up my images for perfect placement.   

The following were used: