Wednesday, June 28, 2017

You've Got Style


When I saw the You've Got Style Stamp Set I knew this would be one of the first sets I ordered.  Just what I need to make a lot of girlfriend birthday cards since we are now in the 60+ category.    

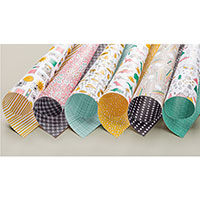
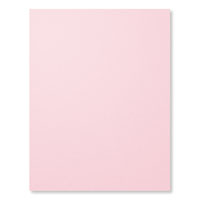
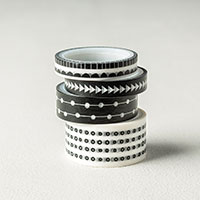
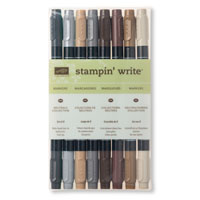
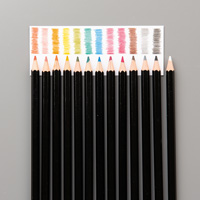
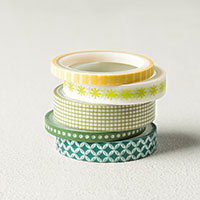
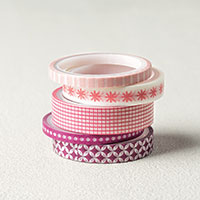
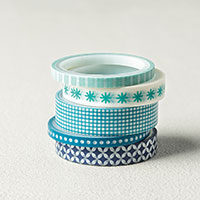
My card base of Whisper White Card Stock was layered with a piece of Pick a Pattern Designer Series Paper.  I then added another piece of Pink Pirouette Card Stock for a bit more color, and then stamped my stylish lady onto another layer of Whisper White.  I colored some of the fur using a Smoky Slate marker, her shoes and champagne were colored with a Pink and then used my Basic Gray Watercolor Pencil to give her coat some light shading.  To finish the card I wrapped two small pieces of Pick a Pattern Washi Tape.  

Inside of card

Monday, June 26, 2017

"Pocket Money"


Now who wouldn't like a card that has some money or a gift card included.  The cut pocket is large enough for some rolled up money and would also be large enough for a gift card.  

To make the pocket I cut the framelit out with my Big Shot, folded it on the score lines, stamped my stitching directly onto my paper and used mini dimensionals to adhere it to the card.  I also added some Garden Green Washi Tape from the Basics Pack 2, stamped my sentiment and punched that out with 1 1/2" Circle Punch.  

You could also turn this pocket into a single gift card or money  holder if you didn't want to attach it to a card.  Just cut out two pockets and adhere them together.  I will be using this a lot during the holidays when I am busy making products for craft fairs.  

The following were used:

Friday, June 23, 2017

Beautiful Bouquet


I've been waiting for another stamp set that has sentiments for both the inside and outside of the card and Beautiful Bouquet fits my needs perfectly.  Not only does it come with coordinating framelits of flowers, branches, and bows, but the sentiments are perfect for wedding, anniversary, birthday, thank you, congratulations cards and more!  The framelits and stamps can be purchased together in a bundle to save you 10%.

My card base of Whisper White Card Stock was layered with a piece of Whole Lot of Love Designer Series Paper and with two piece of Whisper White Card Stock.  To the one layer I added a piece of Washi Tape from the Basic 1 Pack, and the other layer had my sentiment and stamped and cut flowers.  The ink colors used were Berry Burst and Powder Pink and the mini dimensionals were the perfect size to place behind my cut pieces.  For some extra sparkle my small branches were cut out using Gold  Glimmer Paper, and the inside of my card was stamped with wedding wishes.


The following were used:

Thursday, June 22, 2017

June Paper Pumpkin Kit


The June kits are here and if you are a subscriber I'm sure you are having fun making the cute cards and gift bags in the June kit.  If you are not a subscriber you might want to watch the video to see what was included this month.  Every month is a surprise and you can get a month month subscription or prepaid subscriptions which I will list below.  If you would like to look at the other videos of past kits click on the link in the right hand column of my blog labeled Paper Pumpkin. 

Here are your options for Paper Pumpkin:

MONTH 

$20 USD | $27 CAD
shipping included
Item: 137858

3 MONTHS

$59 USD | $79 CAD
shipping included
Item: 137859

6 MONTHS

$114 USD | $154 CAD
shipping included
Save $1 Per Month
Item: 137860

12 MONTHS

$215 USD | $295 CAD
shipping included
Save $2 Per Month
Item: 137861

You can try it for just one month and cancel your subscription at any time, or skip a month at any time.  If you do a 12 month prepaid subscription not only do you qualify for $21.50 in free Hostess Dollars but you save $2 on each kit.  If you join under me, you would also qualify for 4 punches on my Rewards Punch Card.  Either way the kits are fun and easy to put together.  Leave a comment below or send me an e-mail if you have any questions.  Just click the link in the upper left hand column of my blog if you want to subscribe.  


Wednesday, June 21, 2017

Embossing Paste Background


The black layer of my card was made using a Decorative Mask and the new Embossing Paste.  Up close you can see the raised design and it gives my card a unique look.  You can make your design as rigid or smooth as you like depending on how much of the paste you scrape off.  Since this is a card that will be available at my monthly stamp class I made my layer pretty smooth so it would dry quicker.  

My large birthday sentiment was cut out with an Oval Framelit and sponged with some Old Olive Ink around the edges.  I added a piece of the new Old Olive 3/8" Mini Chevron Ribbon and a layer of Old Olive Card Stock, and added all of these layers to my Whisper White card base. 

The following were used:

Tuesday, June 20, 2017

Simple Thank You


I like to create some simple cards for new stampers at my monthly classes.  This thank you card was made with just some Washi Tape for embellishment on the front and my large sentiment that was cut out with a Layering Square Framelit.

I always tell the ladies that coordination is the key.  If you are just starting out get your self some ink and coordinating card stock, designer paper and embellishments, along with a few stamp sets that fit your needs and you can get started making cards.  Once you are comfortable with this, start adding more layers, die cuts, coloring techniques and so on, but just enjoy the process at any level.

The following were used: