Showing posts with label gifts. Show all posts

Wednesday, September 18, 2019

Wood Chip Ornaments


I have been making Wood Chip Ornaments for gifts and also for craft fairs, and they are really easy to make,

I purchased the wood chips already cut, and using Staz-On Ink and my Stampin' Up! stamp sets I was able to create the ornaments in no time.  I just added additional ribbon, and for some used jingle bells and pine cone trinkets to add a little extra embellishment.    

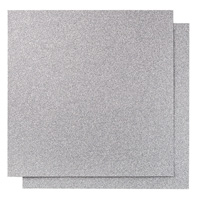
The new Stampin' Up! Shimmery Crystal Effects and Ice Stampin' Glitter added shine to my house ornament, and I will be trying the Snowfall Accents Puff Paint on the new ones I will be making.


Wednesday, October 11, 2017

Mini Coffee Cup Treat Holders

Another fun craft to make for gifts are the decorated mini coffee cups.  I got the cups at a local restaurant store and wrapped them with retired designer series paper.  You could make them for any occasion but since mine were for upcoming holiday craft fairs I used a holiday design.

To make it easier and a little nicer to package I found a template on how to make a holder.  Thanks to Stampin' Up! demonstrator Anne Burnham for the directions on how to make the holder.  Directions are below.

I filled each mini cup with a K Cup and I will be able to tell what flavor of K Cup is in each one by using the same pattern of Designer Series Paper for each flavor.  I like to do a variety of flavors, and this is an easy way to help me know what is inside each one.    You could also use candy, but since I am filling a coffee cup I thought adding some real coffee would be nice.  I have also seen this design where you could add a coffee gift card to the holder as well, and I will do that for personal gifts that I will be giving out.


To make the holder start with a piece of card stock that measures 2 1/2" x 11" and score on the long side at 1/2", 3", 3 1/2", and 6".  Fold on the score lines as shown in the second picture below, punch a 2" circle for the coffee cup to fit, and  bring the bottom piece up and attach it to the back of the base. I used Fast Fuse adhesive to adhere it.  I also used my retired corner rounder punch to round the top corners and put on some matching Washi Tape to dress it up a little more.


Finished Product!

I added some mints, put everything into a clear cello bag, and tied on my sentiment.  

Friday, October 6, 2017

Desk Top Calendars

Here are a few of the desk top calendars I am making for craft fairs, and for gifts for family and friends.  I made them by following the same directions I use to make an Easel Card.  This way the calendars can fold nicely for packaging and gift giving, but when opened up they create a nice easel so you could place them on a desk or counter, or anywhere you would like to have a calendar in sight.
I am making them different styles and colors, but the dimensions for making them are all the same.


To make the easel I started with a piece of 4 1/4" x 11" card stock .  I scored it at 5 1/2" and 8 1/4".  When you fold on the score lines you create your easel.  My front layer where I display the calendar was placed on the small front of the first fold. The bottom of your layer will set on that part while the top of the layer stands freely.  I used Fast Fuse Adhesive to give it a good hold.

For more dimensions - my Whisper White Layer was cut at 5 1/2" x 4 1/2" and my Designer Series Paper was cut at 5 1/4" x 4".  The inside Whisper White Layer is 5 1/4" x 4", and this is where I stamped my sentiment.  I have seen some where people add a post it not, but I liked the idea of a sentiment instead.

To get it to stay open you can use an embellishment such as a button or brad, but for the first card I used a flower that originally came with a Paper Pumpkin Kit and I had several left over and thought they would not only look nice but create the raised dimension you need. I also added some small pearls to the right side for balance.  For the second one a button worked nicely and I thought it fit the more masculine theme. 

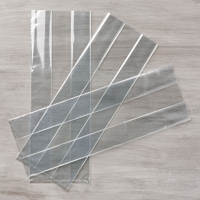
I will be packaging them in a 6" x 17" Gusseted Cellophane Bag, tying them with coordinating ribbon and adding my sentiment.  These make really nice teacher and co worker gifts and you can customize them to fit the person you area giving it too.

I did use some retired ribbon and stamps but the following current products were used:

Wednesday, November 11, 2015

Square Pillow Box Christmas Treats


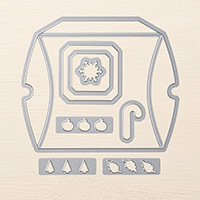
The Square Pillow Box Thinlits Die is much larger than the Pillow Box Die Stampin' Up! used to carry.  This box can hold a lot of sweet treats or goodies, and I filled mine with Hershey Kisses.  They will make nice gifts for teachers, co-workers, family and friends.

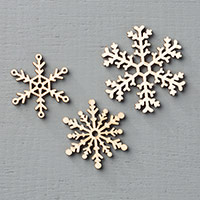
I used some retired paper to cut the box, and tied it with  Whisper White 3/8" Stitched Satin Ribbon. I added my sentiment and cut that out with  a retired snowflakes framelit.  I added Silver Sparkle Dazzling Details around the snowflake for more embellishment and put it onto the box using Dimensionals.

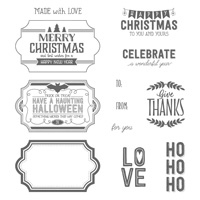
The Square Pillow Box Thinlit can be purchased in a bundle with the "A Little Something" Stamp Set.  The set has images and sentiments for Halloween, Thanksgiving, Christmas, and Thinking of You.


Monday, November 9, 2015

Tea Bag Christmas Gift


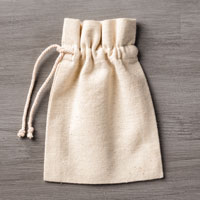
I have made these little tea bag treats for the holidays before, but thought this year I would change the way I made them.  I decided to put the tea and some chocolates into a Mini Muslin Bag instead of the paper holder I have used in the past.

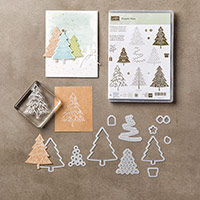
I tied my sentiment onto the bag using some Real Red 3/8" Satin Woven Ribbon that you can still purchase on the Clearance Rack for $2.79 (not the price listed below). You can go to my Clearance Rack here.   I added my Christmas Tree from the Peaceful Pines Stamp Set, that was inked in Mossy Meadow and cut out with my Big Shot and a Perfect Pines Framelit.  The stamp set and coordinating framelits can be purchased in a bundle to save you 15%.  

Note - I placed my tree onto the bag with dimensionals so it could be removed and the bag could them be used again.  You could stamp directly onto the bag, but wanted to give people the option to reuse the bag.  

These would be cute gifts for co-workers, teachers, or anyone who likes tea.  They are easy to make and I think the Muslin Bags are a nice choice.  

The following were used:

Friday, November 6, 2015

Fun to make - Christmas Trees


I purchased the wood trees at a local craft store and decorated the one on the left with Designer Series Paper, and the one on the right was stamped with some fun sayings and embellished with snowflakes.

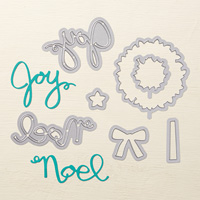
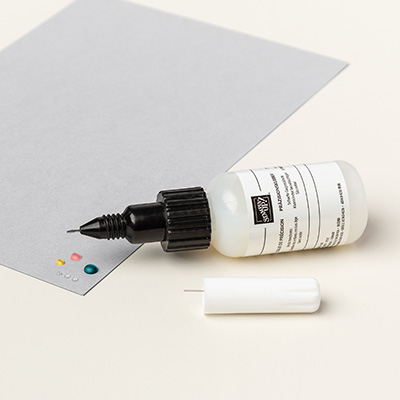
They were really easy to make.  Before I placed on my Designer Paper I added a layer of Mod Podge. I then cut the paper to fit and added another layer of Mod Podge once the paper was on.  I cut out my Joy using Wonderful Wreath Framelit and placed this onto my tree using the new Fine-Tip Glue Pen.

The tree that was stamped used various sentiments and I used Red and Green Staz-On Ink.  I also used the Fine-Tip Glue Pen to adhere my snowflakes.

The possibilities of how you want to decorate your trees are endless.  They would make cute gifts to send to anyone.  The trees open up like an easel so they can be placed on a table making them easy to display.


The following Stampin' Up! products were used (current products listed only)

Thursday, April 2, 2015

Not another card!

I have been trying my hand at decorating picture frames.  I have so many pictures that I want to display and I get tired of the standard frames you buy in the store.  Here is what I came up with.


I covered my frame with some retired Designer Series Paper.  To do this I placed my DSP on a cutting surface and placed my frame on top.  I took a sharp blade to cut around the frame and the opening.  I then covered my wood frame with a thin layer of Mod Podge and placed my cut paper on top.  I then applied another thin layer directly to the paper to seal it.

I decorated it with some flowers punched out using the Petite Petals and Blossom Punch.  I added some pearls and a designer brad to my flowers and I placed them onto the frame using Sticky Strip. 

The hardest part was cutting out the center of the frame where the picture goes.  By adding a few punched flowers around that area I was able to hide any of the cut that was not as smooth as I would like. I think it came out nice and I can't wait to try a few more.


The following Stampin' Up! products were used: