For my sympathy card I cut one of the pieces to measure 5 1/2" x 2" for my layer, leaving me 2 more pieces from this one sheet that I can use on another card.
You can color your vellum on the back side if you want to add more dimension, but for my sympathy card I left it the way it is. I just added a piece of Whisper White Card Stock to the back of my cut piece, and layered this onto a piece of Basic Black Card Stock. To adhere the vellum I used my Tear & Tape Adhesive.

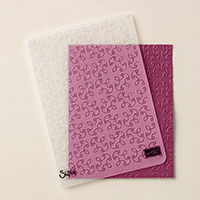
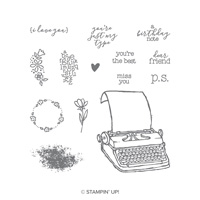
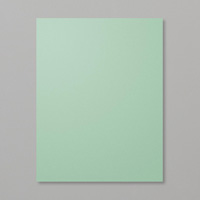
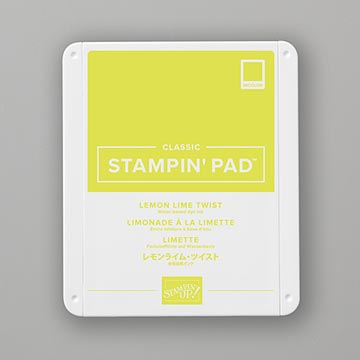
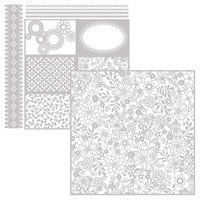
In addition to my vellum layer, I embossed my Lemon Lime Twist card with the Garden Trellis embossing folder, and I colored my flowers using my 2017-2019 In Color Markers, and placed them onto my card using Dimensionals. My sentiment was punched out with the Banner Triple Punch.

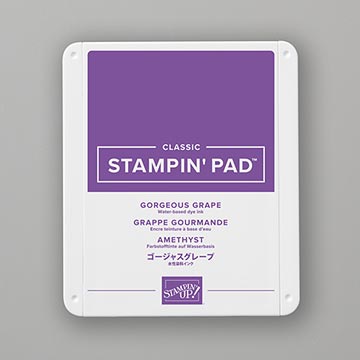
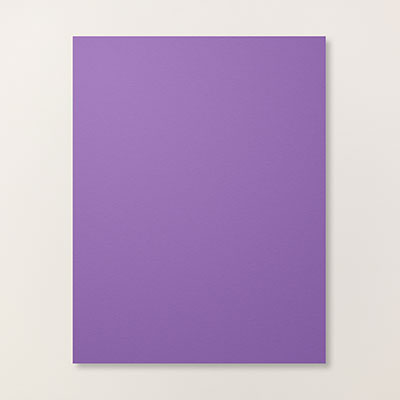
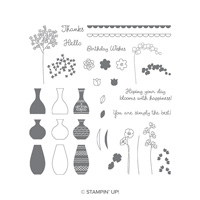
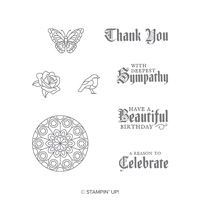
The following were used: