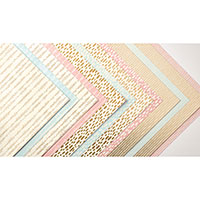
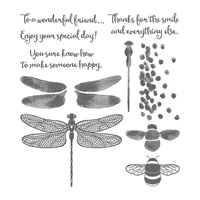
The Bundle of Love Specialty Designer Series Paper has heavyweight paper with gold foil designs that are beautiful for wedding and bridal shower cards. The one I made below was for a bridal shower, and I added the dragonfly because I knew the bride loved them.
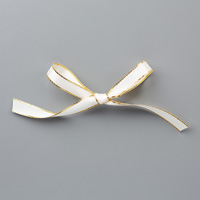
In addition to the dragonfly I added some Gold 3/8" Metallic-Edge Ribbon and my sentiment was cut out with an Stitched Shapes Framelit and placed it onto my card using Dimensionals.
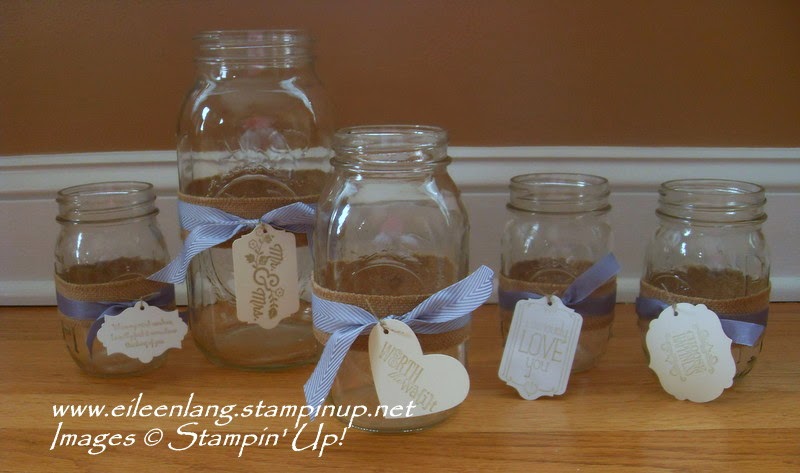
Last week I posted a picture of the empty Mason Jars I made for a bridal shower. Here are a few filled with fresh flowers. They really made a nice accent to the tables, were easy to make, and with individual sentiments stamped and tied onto each jar they were really appropriate for the bridal shower.
To add my ribbon I first placed a piece of Sticky Strip around each jar and then put on my pieces of
1 1/4" Burlap Ribbon. Next I tied on pieces of Wisteria Wonder 1/2" Seam Binding, stamped my sentiments and cut them out either using a framelit or punch. I tied the sentiments onto the Wisteria Wonder Ribbon using Linen Thread.
This was a really inexpensive way to decorate three rooms. The flowers smelled great, the sentiments were fun for people to read, and the mason jars can be used again for another occasion.
I am planning a bridal shower for next Saturday and trying to see how the decorations will look. Things are not finished but wanted to share with you what I have done so far.
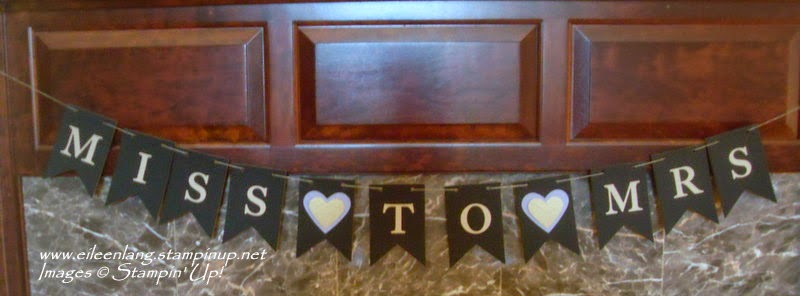
Using the Chalkboard Banner Simply Created Kit (retiring item on sale) I was able to make the Miss to Mrs. Banner. I used 11 of the 15 chalkboard-coated chipboard pieces and still have 32 assorted colors of die-cut pennants, 4 chalkboard pennants , 5 tissue paper pompons, twine and the chalk left to use for another event. The lettering was cut with my Big Shot and a retired Alphabet Die using Gold Glimmer Paper, and Wisteria Wonder Card Stock and Gold Glimmer Paper was used for my Hearts. The brides colors are lilac and gold so that is why I selected those colors. I strung that onto Linen Thread, but the banner did come with twine if you wanted to use that instead.
Banner created with Chalkboard Banner Simply Created Kit
I am going to be putting fresh flowers into these jars and decorated them using 1 1/4" Burlap Ribbon and Wisteria Wonder 1/2" Seam Binding. Each jar has a different sentiment tied onto it with Linen Thread. I decorated 15 jars in all and it was fun looking through all my stamp sets to find appropriate sentiments. Some sentiments used are Mr. & Mrs., I Seriously Love You, Choose Happiness, Worth the Wait, Never Underestimate the Power of Two, and sentiments from some of my retired sets.
I really liked how easy it was to create my banner and ordered a few more of the kits before they are sold out. With the four leftover chalkboard banner pieces I am making a Baby banner for the "Sprinkle" my daughter-in-law and I are having at the end of the month for my daughter, and using some of the colorful banner pieces that I still have, and making 2 of the tissue pompoms for the ends. I will still have pieces left over - what a great value.
In addition to a variety of stamp sets these are the products I used:
Note - the Chalkboard Banner Kit is on sale for $9.98 and available while supplies last.
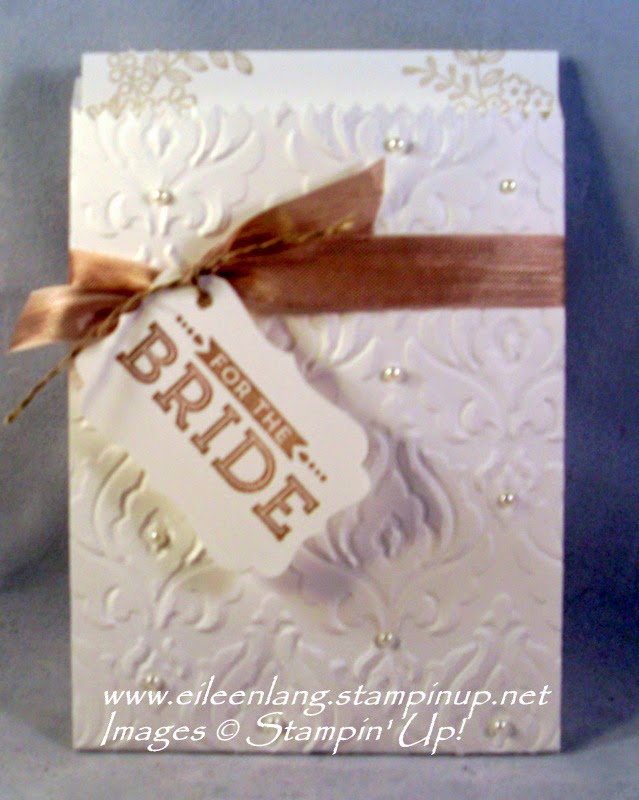
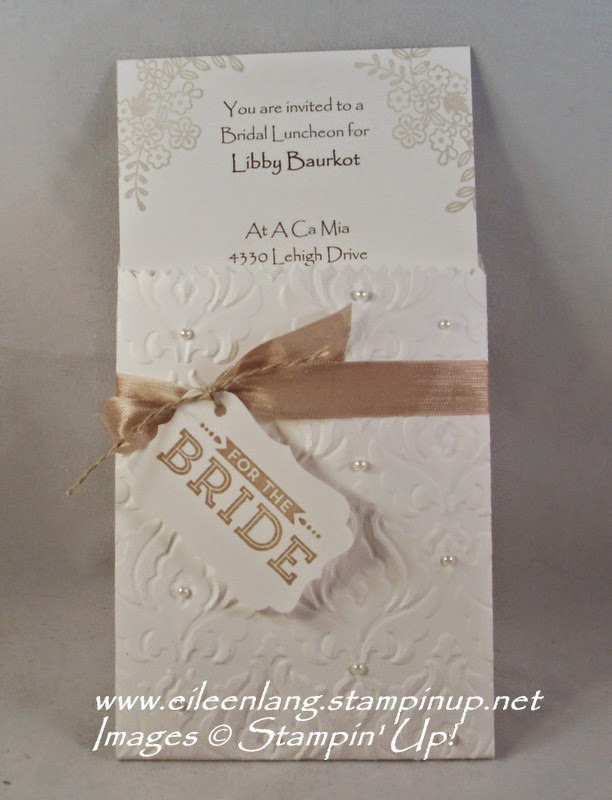
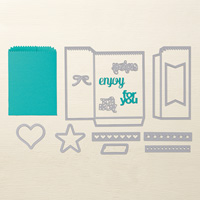
The Mini Treat Bag Thinlits Die isn't just for gift bags. I used it to make a Bridal Shower Invitation for a friend. I placed the invitation inside the bag, and it fit nicely into a standard envelope.
As you can see, the invitation fit in nicely. I get asked to make a lot of invitations and try to come up with different ideas, and the Mini Treat Bag Die worked well and love how you can use your ideas for so many different projects.
I embossed the Treat Bag before I put it together using the Beautifully Baroque Embossing Folder. Some Sticky Strips on the two sides and the bottom of the bag kept it together. I embellished it with some pearls, and tied a piece of Crumb Cake Ribbon around the middle. My For The Bride sentiment added a nice touch to finish the bag.
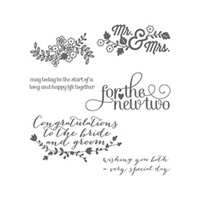
On my invitation I stamped some flowers from the "For the New Two" stamp set to add a nice image around the words.
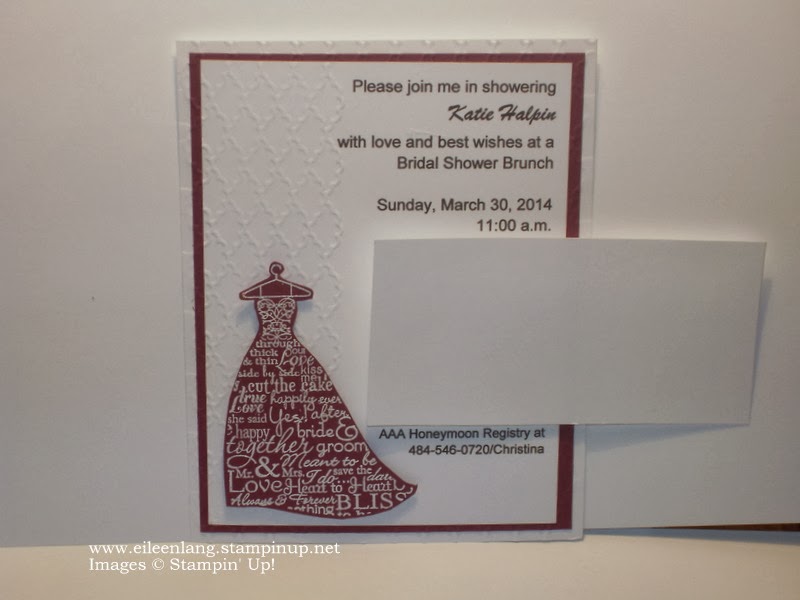
These are the shower invitations I made for my soon to be daughter-in-laws bridal shower. The Rich Razzleberry Card Stock I used for the dress and layer are a great match for the bridesmaid dresses. It is such fun to be able to help with all of these fun events, and will be working on the cake centerpieces soon.
My card base of Whisper White Card Stock, and layer of Rich Razzleberry were embossed with the Fancy Fan Embossing Folder. My next layer of Whisper White had only the left side embossed because I wanted the other side to be flat so you could read the invitation clearly.
I stamped the wedding dress onto Rich Razzleberry Card Stock using Versa Mark Ink, and then heat embossed it with White Embossing Powder. The dress was cut out by hand, and then placed onto my card with dimensionals. The invitation measures 5 1/2" x 4 1/4" therefore it fits into a medium Stampin' Up! Whisper White envelope and requires no extra postage. I will also emboss the flap of the envelope with the Fancy Folder to make it look extra special.
The following were used:
Card Stock: Whisper White #100730, Rich Razzleberry #115316
Ink: Versa Mark #102283
Stamp Set: Love & Laughter #128433 w or #125477 c
Tools: Big Shot #113439, Fancy Fan Embossing Folder #127751, Heat Tool #129053103579, Paper Snips #
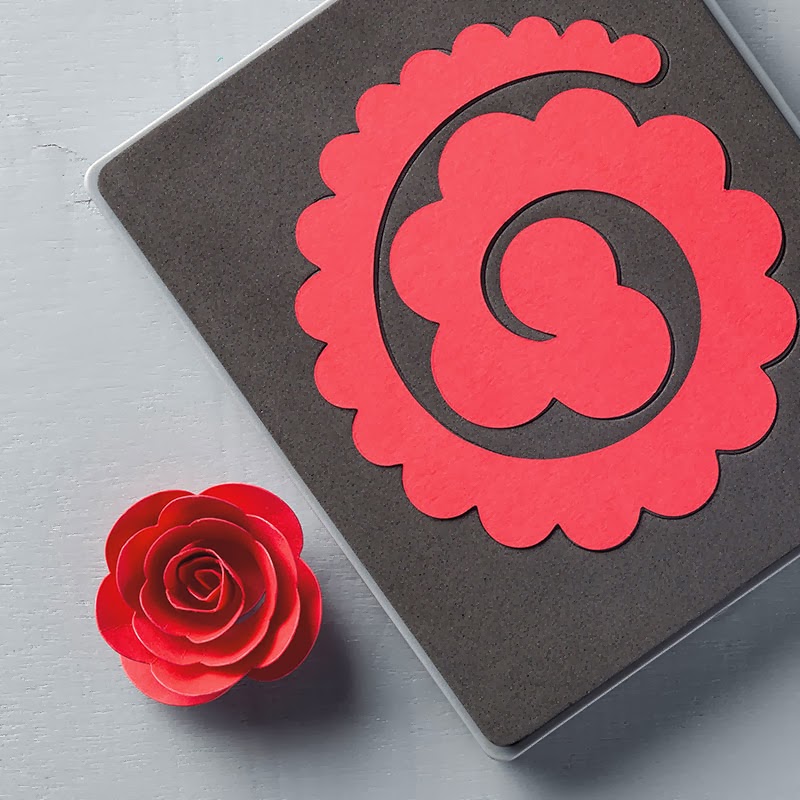
The new Stampin' Up! Occasions Catalog has so many great products, but I think one of my new favorites is the Spiral Flower Originals Die. I have been working on making cake centerpieces for my soon to be daughter-in-laws bridal shower and having this new Big Shot Die has made making the flowers to embellish the cake so much easier. .
Spiral Flower Original Die #129379
Here is a video by Stampin' Up! that shows you how easy it is to use,
and how pretty the flowers are. Just think of all of the great uses for
this fun product.
You can see this and all of the new products in the Occasions Catalog by going to my online store or click the catalog in the left hand column of my blog.
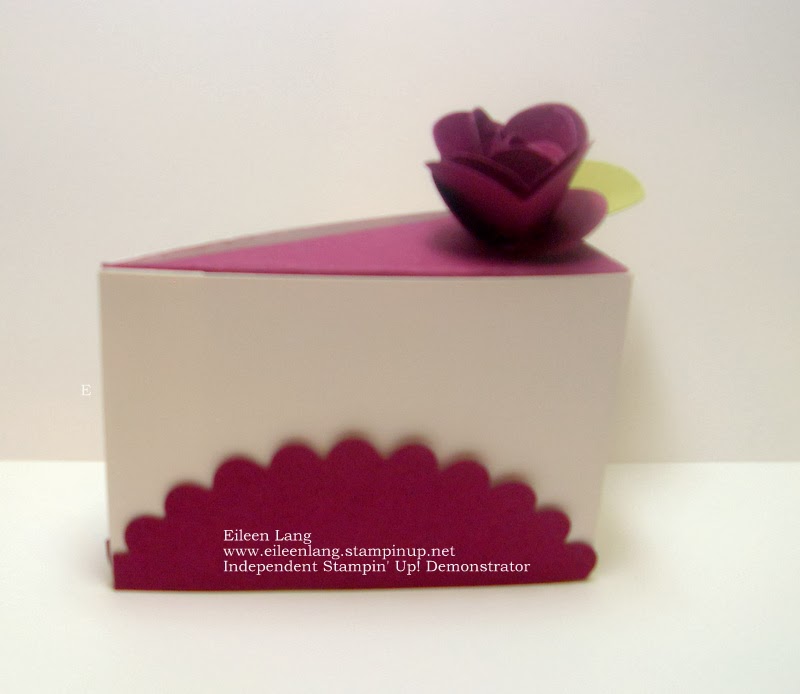
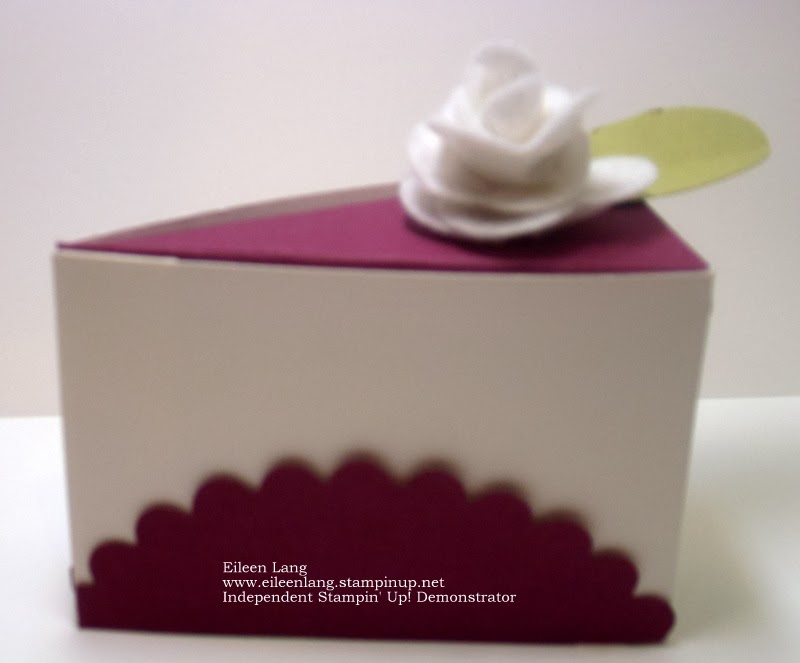
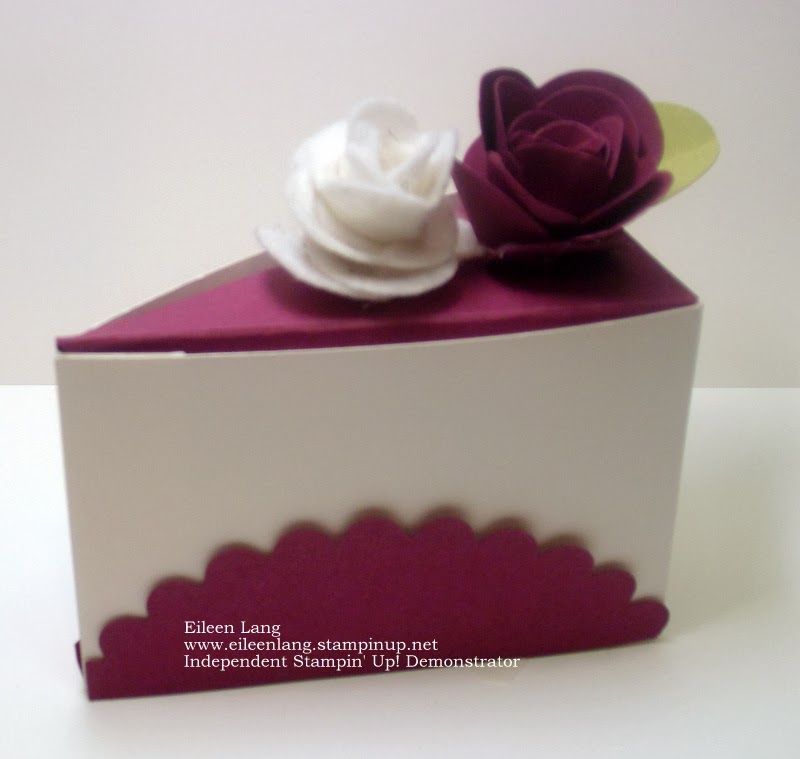
Here is a picture of one of the cake slices. I am still working on changing some things. I might embellish my paper or change the colors around, but I wanted to show you how they look on top.
I'm not sure if I want to add one or two flowers, and what color if I only add one, but here is a sample for you to see how pretty the flowers are.
And, another project I made with the flower was the headband below.
A Rich Razzleberry Button, placed on with a glue gun, added a pop of color to the inside.
You can cut the flowers with many different materials. So far I have cut them using card stock, designer paper, felt, and fabric. They all cut out and rolled together really easily.
If you want your flower to spread out a bit more don't roll it up as tight. I think I might try that for the next flower I made for the cake and see what I like best.
As an Independent Stampin' Up! Demonstrator I get to share the joy of crafting with others. Thank you to my wonderful husband who supports me in all that I do, and my two children, five grandchildren, and friends who make my life complete. I hope you enjoy my blog and that it inspires you to reach your full creative potential. Feel free to leave comments or e-mail me with any questions or suggestions.
As an Independent Stampin' Up! demonstrator, the contents of this blog are my sole responsibility. The use and content on this blog are not endorsed by Stampin' Up! This blog is for your personal inspiration and may not be copied for publication or contest submission.