


I am making them different styles and colors, but the dimensions for making them are all the same.


To make the easel I started with a piece of 4 1/4" x 11" card stock . I scored it at 5 1/2" and 8 1/4". When you fold on the score lines you create your easel. My front layer where I display the calendar was placed on the small front of the first fold. The bottom of your layer will set on that part while the top of the layer stands freely. I used Fast Fuse Adhesive to give it a good hold.
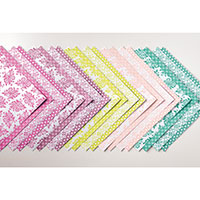
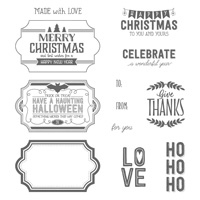
For more dimensions - my Whisper White Layer was cut at 5 1/2" x 4 1/2" and my Designer Series Paper was cut at 5 1/4" x 4". The inside Whisper White Layer is 5 1/4" x 4", and this is where I stamped my sentiment. I have seen some where people add a post it not, but I liked the idea of a sentiment instead.
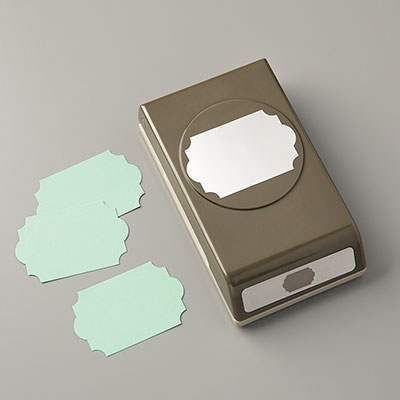
To get it to stay open you can use an embellishment such as a button or brad, but for the first card I used a flower that originally came with a Paper Pumpkin Kit and I had several left over and thought they would not only look nice but create the raised dimension you need. I also added some small pearls to the right side for balance. For the second one a button worked nicely and I thought it fit the more masculine theme.
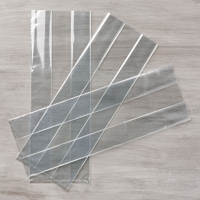
I will be packaging them in a 6" x 17" Gusseted Cellophane Bag, tying them with coordinating ribbon and adding my sentiment. These make really nice teacher and co worker gifts and you can customize them to fit the person you area giving it too.
I did use some retired ribbon and stamps but the following current products were used:
I did use some retired ribbon and stamps but the following current products were used:


No comments:
Post a Comment