Thursday, October 15, 2015

Home for Christmas


]

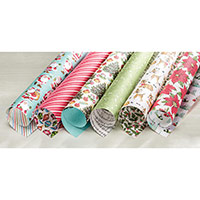
The "Home for Christmas" Designer Series Paper is so pretty that you really don't need to add a lot more to your card.  Just add a layer of the paper with your sentiment, and you have a holiday card finished in no time.

My card base is Cherry Cobbler Card Stock, and another layer of Mossy Meadow Card Stock was added before I placed on my Home for Christmas paper.  I love how all of the colors coordinate.

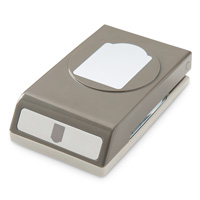
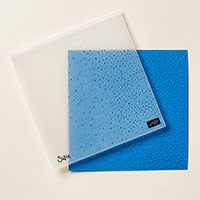
I then stamped my sentiment, colored in the garland and added some Dazzling Details to the tree to really make it shine.  This was cut out with the Note Tag Punch, and placed onto a piece Cherry Cobbler Card Stock that was embossed with the Softly Falling Embossing Folder and cut out with a Banner Framelit.   For a bit more embellishment I tied on some retired Cherry Cobbler Ribbon and added a Metal Rimmed Pearl and placed it onto my card using Dimensionals.


The following were used:
Monday, October 12, 2015

Vintage Leaves


A combination of products from the Annual and Holiday Catalogs, and also a retired stamp were used for my Thanksgiving card.  With Halloween, Thanksgiving, and Christmas back to back, my card classes showcase some cards for each Holiday.  Mix and match your products and don't forget to use what you already have to get the look you want.

My card base is Whisper White Card Stock, and I stamped my leaves using Early Espresso and Tangelo Twist ink and layered a piece of Into the Woods Designer Series Paper at the bottom.  I tied a piece of Crumb Cake 3/8" Stitched Satin Ribbon between my stamped images and Designer Paper, and using Dimensionals I placed my retired sentiment that was punched out with the Label Bracket Punch.

g

Friday, October 9, 2015

Festive Flower Builder Punch

The Festive Flower Builder Punch can be used for so many cute projects.  I posted a card a few weeks ago and today I am adding two gift ideas for this punch.    And, don't think that once the holidays are over you need to put it away, just change the color and pattern of your paper and you can make pretty flowers for any occasion.

To make your flower you will need to punch your card stock four times.  If you want it any larger, just punch a few more times until you get the size you want.  The top flower on my gift bag has four extra petals, the other flowers were made with punching my card stock four times.
Gift bag ready to fill!

Fry Box filled with Hershey Kisses
The flower on the gift bag was embellished with Gold Glitz Dazzling Details to go with my new Gold Glitter Ribbon.  The flower on the Fry Box was embellished with Dazzling Details, and my bag of Hershey Kisses was tied with Garden Green 1/8" Striped Ribbon.  Both flowers have a  White Perfect Accent in the middle.

To put the flower together I used a hot glue gun and the Silicone Craft Sheet.  With this sheet, you can put your hot glue right on the sheet, and then start building your flower as you add more glue.  When you are finished, your flower lifts right up.  This sheet works great with any adhesive, but is a must have when using a glue gun.


The following were used:
Built for Free Using: My Stampin Blog

Wednesday, October 7, 2015

Square Pillow Box Thinlits Die - Video

I am having two workshops today so I don't have a lot of time to post a project, but I thought you might like to watch this video from Stampin' UP! to see how easy it is to cut and use the new Square Pillow Box Thinlits Die.  It is on page 41 of the Holiday Catalog, and you can purchase it with the 'A Little Something Stamp Set" in a bundle to save you 15%.    How cute is this, and you can decorate it for the appropriate occasion and fill it with  treats and have a nice little gift in no time at all.


Enjoy the video!


You can see the die and stamp set  here at my Online Store.    Click here to see just the Thinlit Die.


Monday, October 5, 2015

Wondrous Wreath


I was really happy that Stampin' Up! brought back some of the holiday stamps that were in last year's catalog.  I liked the Wondrous Wreath set and I get to make different Christmas cards with it this year.

My card base of Whisper White Card Stock was layered with a piece of Merry Moments Designer Series Paper, which is also in the Annual Catalog.  I stamped my wreath using Garden Green and Real Red ink and  the wreath was cut out using my Big Shot and a Wonderful Wreath Framelit.  
The Noel, which is also a part of these Framelits was cut out using some Silver Foil, and the new Precision Base Plate made it easy to cut out.  I placed the Noel onto my wreath using the Fine-Tip Glue Pen, which is great when you have small or thin pieces of paper to adhere.  The Bow, another Wonderful Wreath Framelit, was cut out using Silver Glimmer Paper and was attached to the wreath which has a piece of Whisper White 3/8" Stitched Satin Ribbon placed behind it. 


The following were used:
Built for Free Using: My Stampin Blog

Monday, September 28, 2015

Happy Anniversary


I used the Timeless Love Stamp Set to create my anniversary card, with the help of some Framelits of course.

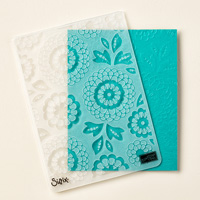
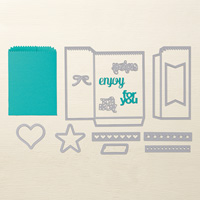
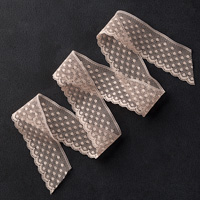
My card base is Basic Black Card Stock and my layer is a piece of Tip Top Taupe Card Stock that I embossed with the Lovely Lace Embossing Folder. I then cut a piece of Very Vanilla Card Stock and Timeless Elegance Designer Series Paper with a Lots of Labels Framelits before adding my sentiment that I cut out using one of the Mini Treat Bag Thinlits.  To add a bit more embellishment to this sentiment I placed a piece of Tip Top Taupe 1" Dotted Lace Trim and punched a small flower and leaf.  

Friday, September 25, 2015

One more - Haunt Ya Later card


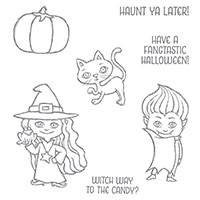
Hope you don't get tired of seeing Halloween Cards with the Haunt Ya Later stamp set, but it is so versatile that by adding some new framelits and designer series paper it gives me a whole different look.

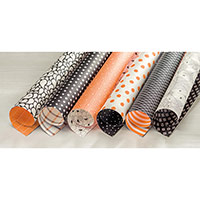
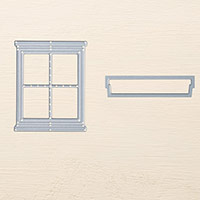
I embossed my Crumb Cake Card Stock with the Woodgrain Embossing Folder and then added my Window Framelit, and placed some Happy Haunting paper behind it.  I cut out my cat, and placed him in the window.  My sentiment at the top was cut out with a Project Life Cards &Labels Framelits Framelits