Monday, March 20, 2017

Cake Crazy


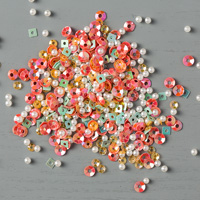
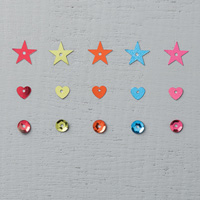
Make any size crazy cake for a fun birthday card.  Coordinate some cute colors and embellishments and you have a quick birthday card to send.

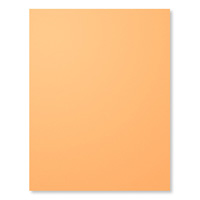
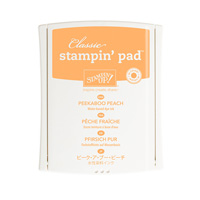
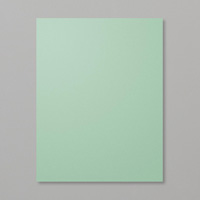
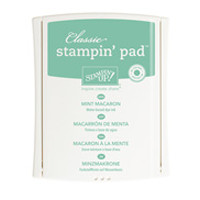
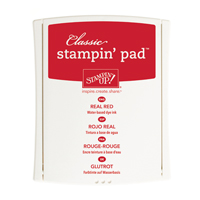
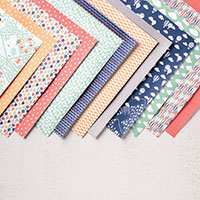
My coordinating colors are Peekaboo Peach, Mint Macaroon, and Real Red, and I stamped the cake layers by size, starting on the bottom with the largest layer and finishing it off with the candle on the top.  Since this is a Photopolymer Stamp Set it was easy to stamp and align my layers, and because it is supposed to be a crazy cake I wasn't worried if my placement wasn't perfect.


The following were used:

Wednesday, March 15, 2017

Reuse of Paper Pumpkin Kits


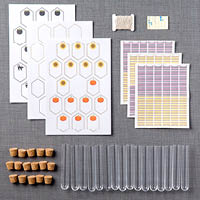
If you are a subscriber to My Paper Pumpkin you have access to past kits.  I really liked the test tubes in the September 2016 kits that I ordered several refill kits.  If you are not a member, you can subscribe which will give you the opportunity to not only get the next kit, but also access to past kits that you might like. 

I filled my test tubes with Jelly Beans and stamped and cut out my bunny and attached him to the tubes using Glue Dots.  This was a really quick, inexpensive, and easy Easter treat to make and I think they will look cute in my grandchildren's Easter baskets.


During Sale-a-bration this is what you could earn with your subscription:
3-Month Prepaid Subscription (137859) $59 $55  Save on a
3-month prepaid subscription and instantly qualify for a FREE Sale-A-Bration item!  Offer expires 3/31/17.

Really want to save:
12-Month Prepaid Subscription (137861) $215. Save over $2/month with the everyday awesome price, earn Stampin’ Rewards, and get 4 FREE Sale-A-Bration items!  Plus with a 12 month prepaid subscription you would also qualify for $21.50 in free Stampin' Rewards to be used on any product in the Annual or Occasions Catalog.

You can also sign up for just one month to try it out, but remember, each month the kits are different and yes there are some months I like more than others, but I have been really happy with the quality and value of each kit and I look forward to seeing my surprise each month.

To sign up, just click the Paper Pumpkin link in the left hand column of my blog. 


Wednesday, March 8, 2017

Balloon Adventures


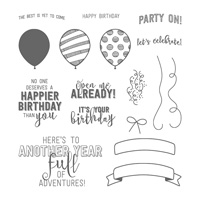
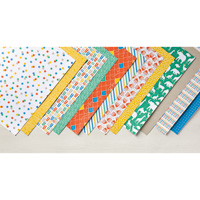
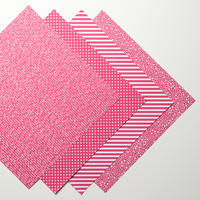
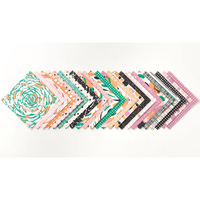
To stamp my card, I coordinated the colors in the layer of Party Animal Designer Series Paper I used.  That is what makes using Stampin' Up! products super easy.  The paper has the coordinating colors right on the packet and it takes the guess work out of what colors to use.

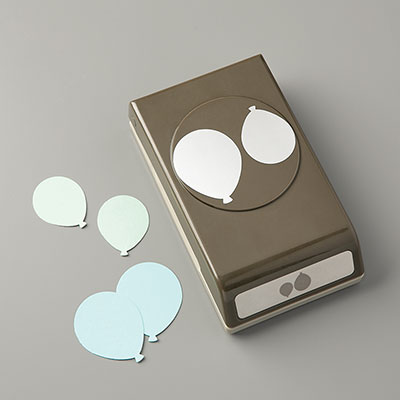
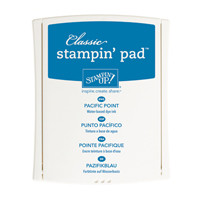
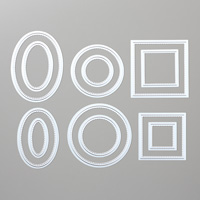
After I stamped my balloons I punched them out with the coordinating Balloon Bouquet Punch which is in the Annual Catalog.  I also cut out some coordinating Pacific Point Designer Series Paper from the Brights Collection to layer under my Stitched Oval Sentiment.  If you like this stamp set it also comes with coordinating framelits to save you 10%.


The following were used:

Tuesday, March 7, 2017

Watercolor Pencil Background


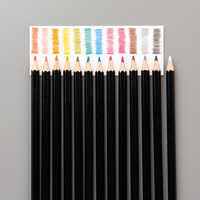
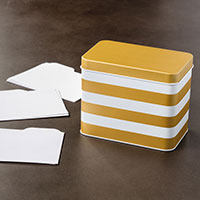
If you want to create your own background for a card or project without using any stamps, just use your Watercolor Pencils and your favorite colors to create a custom background.  I created this card and plan on using all of the ladies in the Beautiful You Stamp Set to make cards without sentiments to have on hand to be stamped later according to what I need.  These would make really nice gifts if you box them up and you could use the Free Card Tin you can earn during Sale-a-bration to keep them in. 

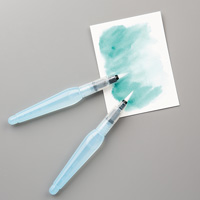
To create my background I took a piece of Watercolor Paper and cut it to measure 5" x 3 3/4".  Next I colored my background using the Real Red, Basic Gray, Pumpkin Pie, and Old Olive Watercolor Pencils.  Using an Aqua Painter I went over my background to blend the colors and get the look I wanted.   I then stamped my girl using Archival Gray Ink and layered this onto a piece of Carried Away Designer Series Paper, also a Free choice during Sale-a-bration.  This was all put onto my Very Vanilla Card base.
The following were used:

Monday, March 6, 2017

Hey, Chick

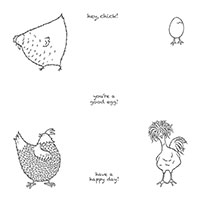
If you want new looks for your cards instead of the standard opening, there are quite a lot of different folds you can use that give you a unique look.  For my "Hey,Chick" card below the measurements are really easy.  Just take your 8 1/2" x 5 1/2" piece of card stock and score on the long side at 2 1/8" and 6 3/8".  Now you have an opening that when folded still fits into a standard card envelope.  I used Designer Series Paper to decorate the front, as well as some Stitched Oval Framelits to highlight my chick.  The new Watercolor Pencils made it easy to give my chick the look she wanted, and to close my card I adhered velcro to the right side of my Oval Framelit, both on the Oval and directly on the card where the Oval was placed.

Inside of card

Folded card - adhered with Velcro

The following were used:

Thursday, March 2, 2017

Stylish Stems Video

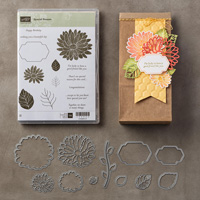
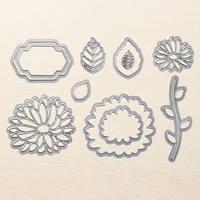
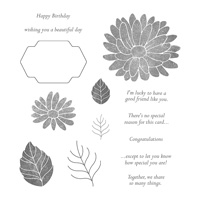
I've been so busy this past week with family commitments and two Mystery Hostess Workshops that I haven't had time to post in a few days.  So while I try to get caught up on my blog posts I thought I would share this video by Stampin' Up! showing the Stylish Stems Framelits Dies and coordinating Special Reason Stamp Set.  These two products can be bought together in a bundle to save you 10%.

Both of these products are great, and I just ordered mine today and can't wait to see all I can do with this bundle.  With the spring and summer months coming up they will get a lot of use and I will post my own creations in a few weeks.

Listed below are the numbers if you want to order the bundle, and the individual numbers if you want to just order the framelits or the stamp set.  Note - you can get them in clear or wood mount therefore the different numbers and prices.